Kale is one of the most nutrient-dense leafy greens you can grow at home. Packed with vitamins, minerals, and antioxidants, it’s a versatile vegetable perfect for salads, smoothies, soups, and sautés. Beyond its nutritional value, kale is also cold-hardy, easy to grow, and highly rewarding, making it an excellent choice for backyard gardeners.
Whether you’re a beginner gardener or a seasoned grower, this guide will teach you how to grow kale in your backyard, from selecting the right varieties to soil preparation, planting, care, and harvesting for maximum yield.
Why Grow Kale in Your Backyard?
Kale is popular among home gardeners for several reasons:
- Nutrient-rich: High in vitamins A, C, K, and minerals like calcium and iron.
- Cold-tolerant: Survives frost and can even taste sweeter after a light frost.
- Easy to grow: Minimal care and pest resistance make kale beginner-friendly.
- Versatile: Suitable for salads, soups, smoothies, chips, and cooking.
- Cost-effective: Growing your own kale is cheaper than buying fresh greens year-round.
Backyard kale is a practical, sustainable addition to any home garden.
Choosing the Right Kale Variety
There are several types of kale, each with unique characteristics. Choosing the right variety ensures a productive and flavorful harvest.
Popular Kale Varieties
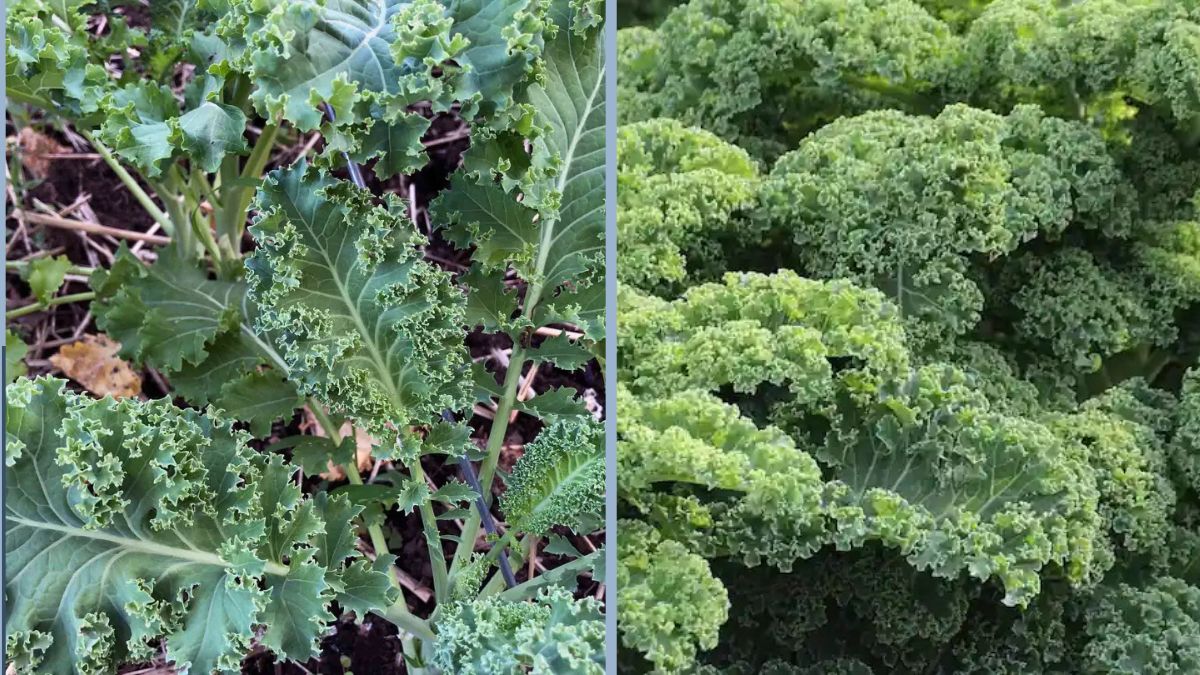
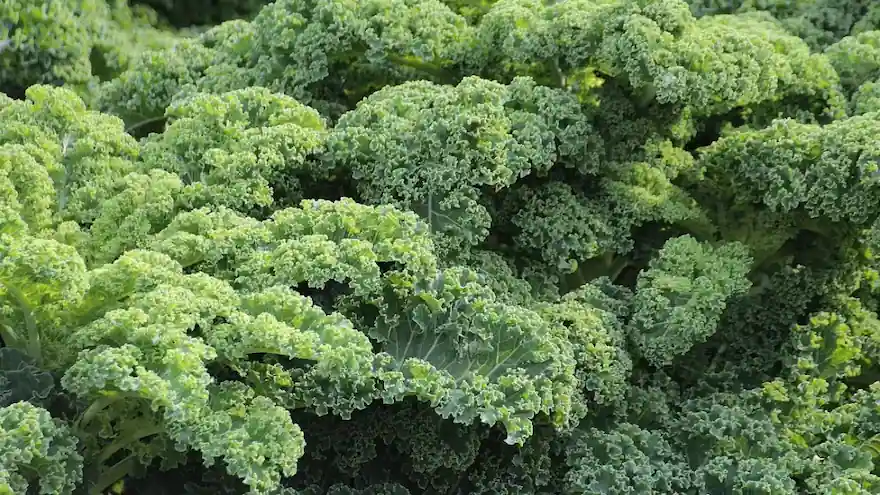
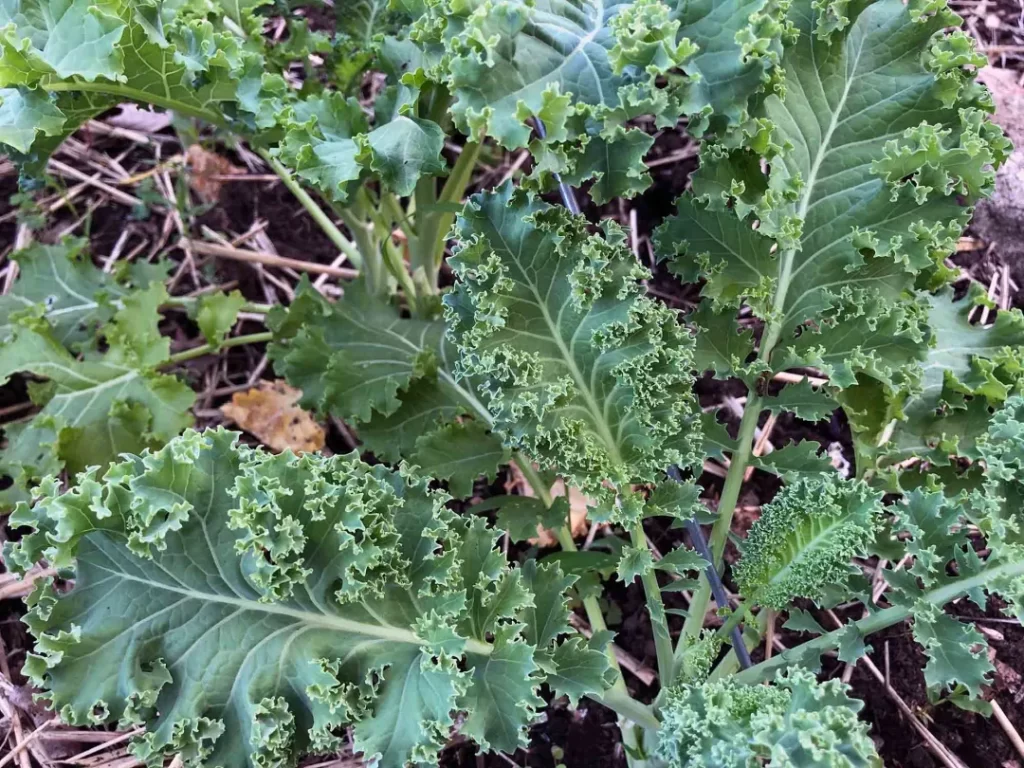
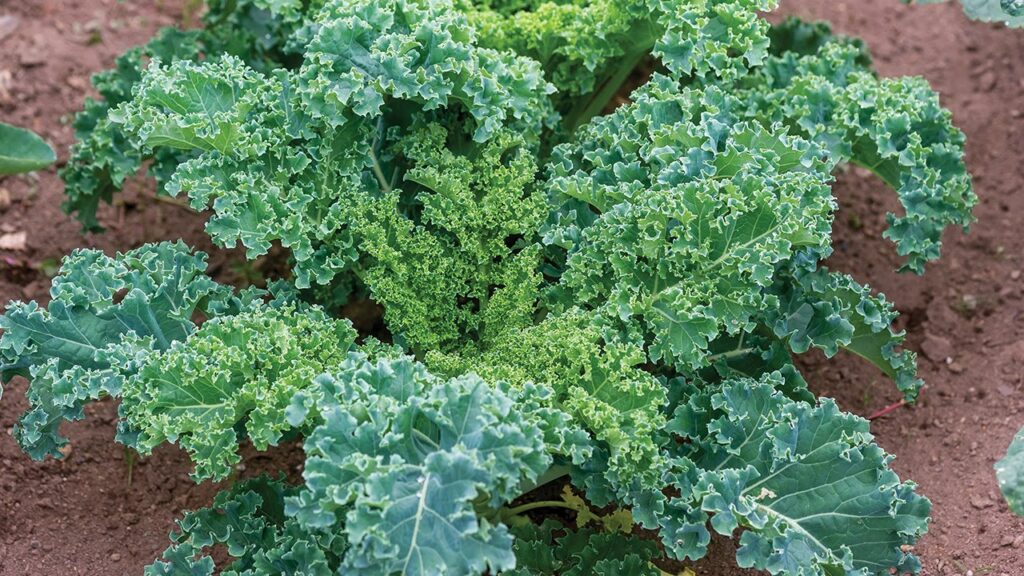
- Curly Kale (Scots Kale):
- Bright green, curly leaves with a mild flavor.
- Hardy and frost-tolerant; perfect for beginners.
- Lacinato Kale (Dinosaur or Tuscan Kale):
- Dark green, long, wrinkled leaves.
- Slightly sweeter flavor; slow-growing but tender.
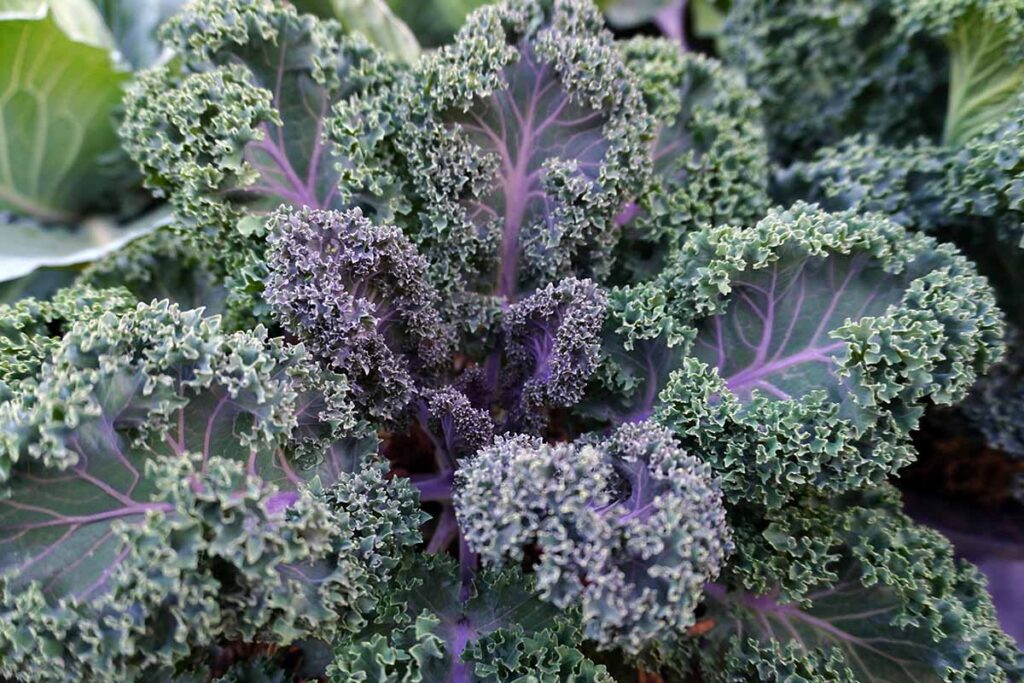
- Red Russian Kale:
- Green leaves with reddish stems.
- Mild flavor and tender texture; grows quickly.
- Siberian Kale:
- Cold-hardy, broad leaves; excellent for winter growing.
Tip: Choose varieties suited to your local climate. Curly and Siberian kale are excellent for colder regions, while Red Russian thrives in milder temperatures.
Preparing Your Backyard for Kale
Kale grows best in loose, fertile, and well-draining soil. Proper soil preparation ensures healthy leaves and vigorous growth.
Soil Requirements
- Soil type: Loamy or sandy soil. Avoid heavy clay or compacted soil.
- pH: Slightly acidic to neutral, ideally 6.0–7.0.
- Fertility: Enrich soil with compost, well-rotted manure, or organic fertilizer for maximum growth.
Sunlight
- Kale thrives in full sun, at least 6 hours per day.
- Partial shade is acceptable, especially in hot climates, to prevent leaf bitterness.
Bed Preparation
- Remove weeds and rocks from the planting area.
- Loosen soil to a depth of 8–12 inches for root development.
- Mix in compost or balanced fertilizer before planting.
A well-prepared bed ensures healthy roots and productive plants.
Planting Kale in Your Backyard
Kale can be grown from seeds, seedlings, or transplants.
Step 1: Starting Seeds
- Sow seeds ½ inch deep in rows spaced 12–18 inches apart.
- Thin seedlings to 12–18 inches apart once they develop 2–3 true leaves.
Step 2: Transplanting Seedlings
- If using nursery seedlings, dig holes slightly larger than the root ball.
- Space plants 12–18 inches apart to allow airflow and prevent overcrowding.
- Water immediately after planting to help roots establish.
Step 3: Direct Seeding
- Kale can also be directly sown in the garden 4–6 weeks before the last frost in spring or 8–10 weeks before fall frost for autumn harvest.
Tip: Succession planting every 2–3 weeks ensures a continuous harvest throughout the season.
Caring for Kale
Kale is generally low-maintenance, but proper care improves yield and leaf quality.
1. Watering
- Keep soil consistently moist, about 1–1.5 inches per week.
- Mulch around plants to retain moisture, suppress weeds, and regulate soil temperature.
- Avoid overhead watering to reduce fungal diseases.
2. Fertilizing
- Kale is a heavy feeder and benefits from nitrogen-rich fertilizers for leafy growth.
- Apply compost or organic fertilizer every 4–6 weeks.
- Avoid over-fertilizing, which can encourage pests and reduce flavor.
3. Mulching
- Organic mulch (straw, shredded leaves) helps conserve moisture, maintain soil temperature, and protect roots.
- Mulch also prevents weeds that compete for nutrients.
4. Pest and Disease Management
Even backyard kale can face some pests and diseases:
Common Pests
- Aphids: Spray with water or insecticidal soap.
- Cabbage worms: Handpick or use floating row covers.
- Flea beetles: Use mulch or protective netting.
Common Diseases
- Downy mildew: Ensure good air circulation and avoid wetting leaves.
- Black rot: Rotate crops and remove affected leaves.
- Clubroot: Avoid planting in contaminated soil and practice crop rotation.
Consistent monitoring and early intervention prevent major damage.
Harvesting Kale
Kale can be harvested multiple times, making it a “cut-and-come-again” vegetable.
Step 1: Timing
- Leaves are ready for harvest 50–70 days after planting.
- Young, tender leaves are sweeter and ideal for salads.
- Mature leaves are suitable for cooking and soups.
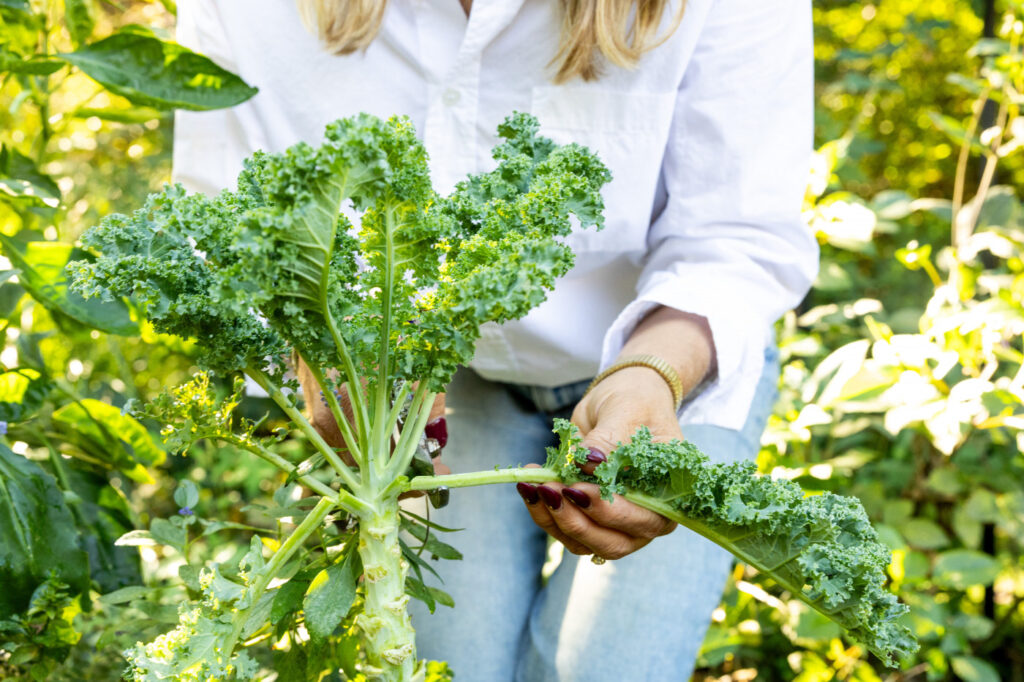
Step 2: Harvest Technique
- Pick outer leaves first, leaving the inner leaves to grow.
- Cut leaves with a sharp knife or scissors about 1–2 inches from the stem.
- Avoid removing the central bud, which allows continuous growth.
Step 3: Continuous Harvest
- Regular harvesting encourages new leaf production.
- Succession planting ensures a constant supply of fresh kale throughout the growing season.
Tips for Growing Kale Successfully in Your Backyard
- Succession planting: Plant seeds every 2–3 weeks for continuous harvest.
- Protect from frost: Kale is cold-hardy, but young seedlings benefit from row covers in early spring or late fall.
- Thin seedlings: Proper spacing reduces disease risk and promotes larger leaves.
- Use companion plants: Plant kale alongside herbs like dill or chamomile to attract beneficial insects.
- Avoid water stress: Consistent moisture improves leaf quality and reduces bitterness.
- Prune regularly: Remove yellow or damaged leaves to maintain plant health.
Benefits of Growing Kale in Your Backyard
- Nutritional value: High in vitamins A, C, K, calcium, and antioxidants.
- Cost savings: Reduce grocery bills with a steady supply of greens.
- Freshness: Harvesting fresh kale ensures better flavor and nutrient retention.
- Sustainable gardening: Grow organically and reduce your environmental footprint.
- Versatility: Kale can be eaten raw, cooked, or preserved by freezing.
Backyard kale cultivation provides both health and culinary benefits.
Final Thoughts
Kale is one of the easiest and most rewarding vegetables to grow in your backyard. With the right varieties, soil preparation, planting techniques, and ongoing care, you can enjoy a continuous supply of fresh, nutritious greens all season long.
Whether planted in raised beds, garden rows, or even containers, kale offers cold-hardy resilience, versatility, and a wealth of health benefits. By following proper watering, fertilization, and pest management practices, even beginner gardeners can cultivate a thriving backyard kale patch.
Growing kale at home is not only economical and nutritious, but it also brings the satisfaction of harvesting fresh greens straight from your backyard to your table.
With patience, consistent care, and smart planting strategies, your backyard can yield a bountiful, flavorful, and nutrient-packed kale harvest year after year.