Rice is one of the most basic, beloved staples in kitchens around the world. From fluffy basmati to sticky sushi rice, it’s the foundation of countless dishes. Yet for years, I cooked rice the same way I always had — rinse it quickly under water, pour it into a pot with water, and hope for fluffy grains. Sometimes it worked perfectly, other times it clumped together, stuck to the pot, or felt a little bland.
Then I stumbled upon a simple technique that completely changed the way my rice tasted and felt: soaking it before cooking. I had heard of soaking rice in passing, but I didn’t think it mattered much. After all, rice cooks in water, so why soak it first? But after trying it for the first time, the difference was undeniable. The grains were lighter, fluffier, and the flavor was richer and more pronounced.
Here’s my experience with soaking rice, why it works, and how you can easily incorporate it into your cooking routine.
Why Soaking Rice Makes a Difference
Soaking rice might seem like an extra step, but it has several scientific and culinary benefits:
1. Reduces Cooking Time
Soaking rice allows the grains to absorb water before cooking. This means they cook faster once you apply heat, saving both time and energy. For long-grain varieties like basmati, soaking for even 20–30 minutes can make a noticeable difference.
2. Improves Texture
Soaked rice cooks more evenly. Each grain absorbs water gradually, which prevents clumping and results in rice that is fluffier and softer, not sticky or gummy.
3. Enhances Flavor
When rice is soaked, the starch on the surface begins to break down slightly. This can bring out a more delicate, nutty flavor in long-grain rice and a subtle sweetness in short-grain varieties.
4. Removes Surface Starch
Soaking, along with rinsing, helps remove excess starch from the rice surface. This prevents the rice from sticking together and creates a lighter, more separated texture.
5. Reduces Anti-Nutrients (Phytic Acid)
Some varieties of rice contain phytic acid, a natural compound that can reduce nutrient absorption. Soaking rice can help reduce phytic acid levels, making the nutrients in rice, like iron and zinc, more bioavailable.
How I Soak Rice
Here’s the simple routine I now follow whenever I cook rice:
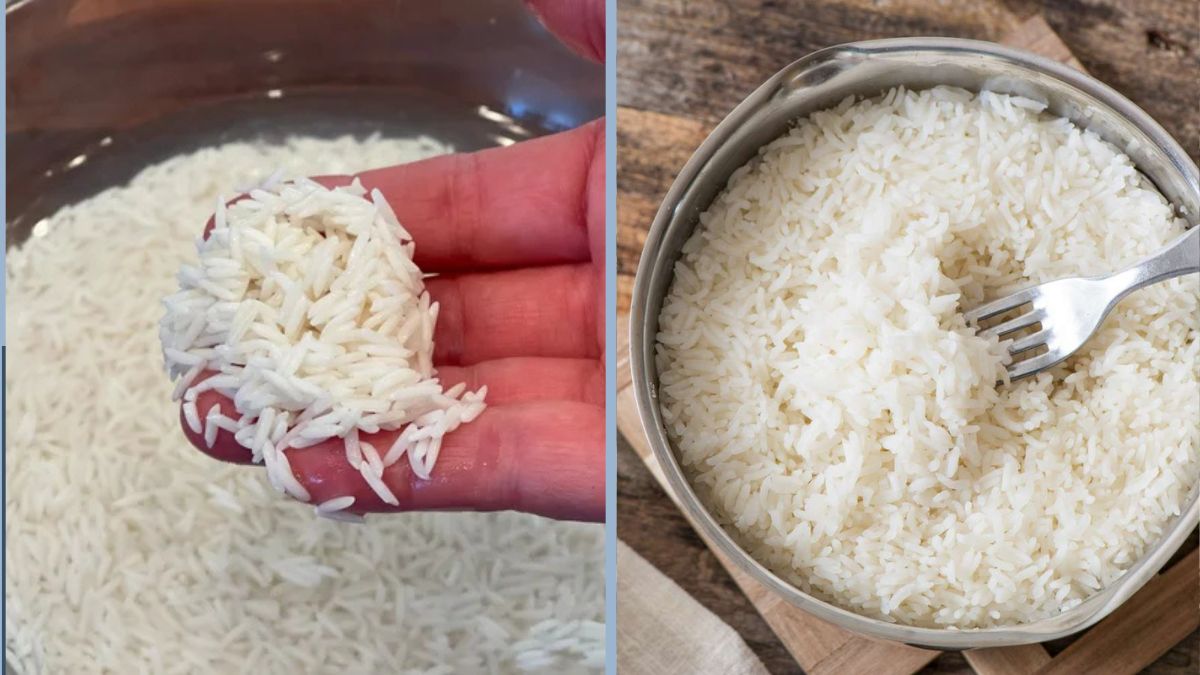
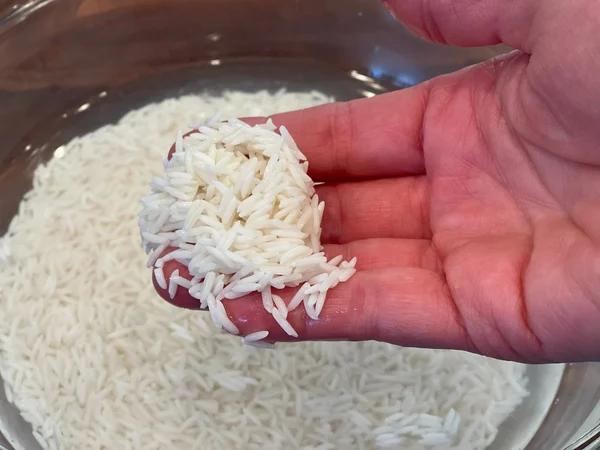
Step 1: Rinse Thoroughly
I start by placing the rice in a fine mesh sieve and rinsing it under cold water. I rub the grains gently with my fingers to remove surface starch. I rinse until the water runs mostly clear.
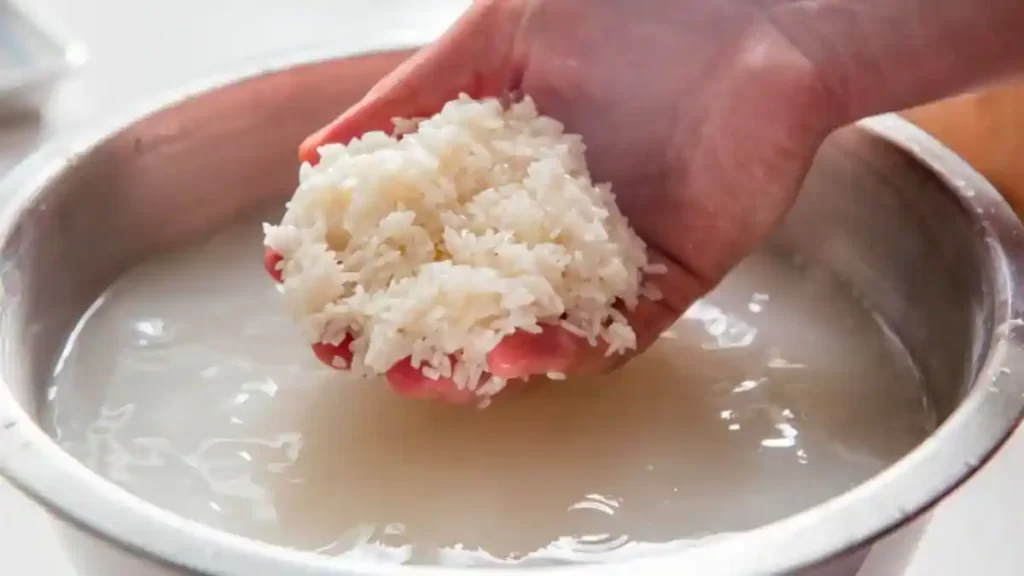
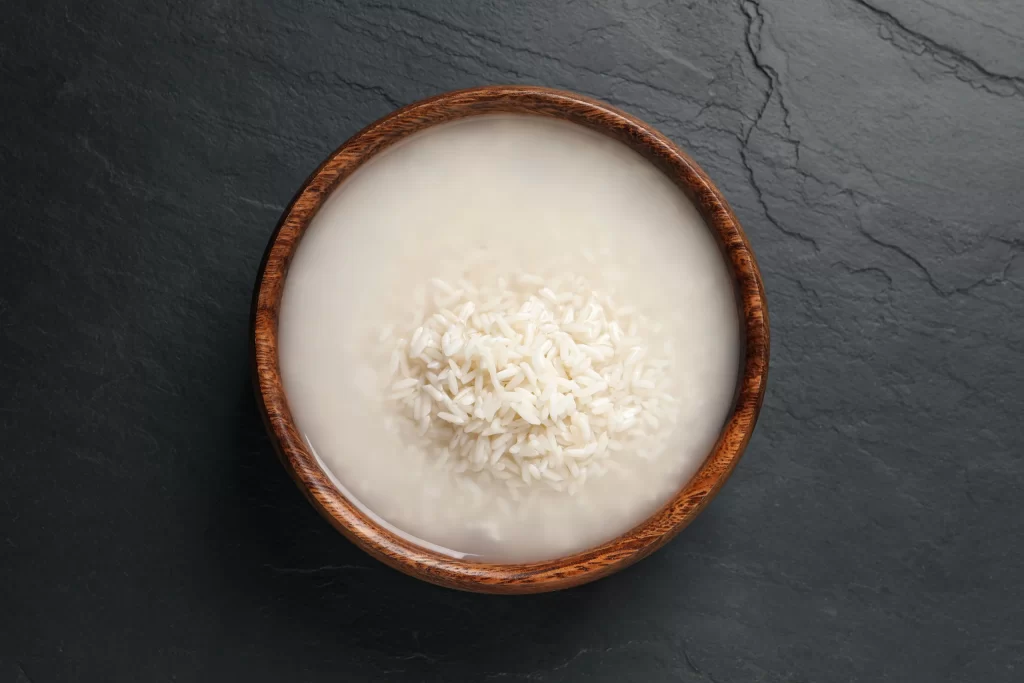
Step 2: Soak in Water
After rinsing, I place the rice in a bowl and cover it with fresh water. The soaking time depends on the rice variety:
- Basmati rice: 20–30 minutes
- Jasmine rice: 15–20 minutes
- Short-grain or sushi rice: 30 minutes
- Brown rice: 45 minutes to 1 hour (or even overnight for best results)
This step allows the grains to absorb water evenly, improving texture and reducing cooking time.
Step 3: Drain and Cook
After soaking, I drain the rice and cook it in the usual way — either on the stovetop, in a rice cooker, or in a pot with a tight-fitting lid. I reduce the water slightly compared to unsoaked rice because the grains have already absorbed some water during soaking.
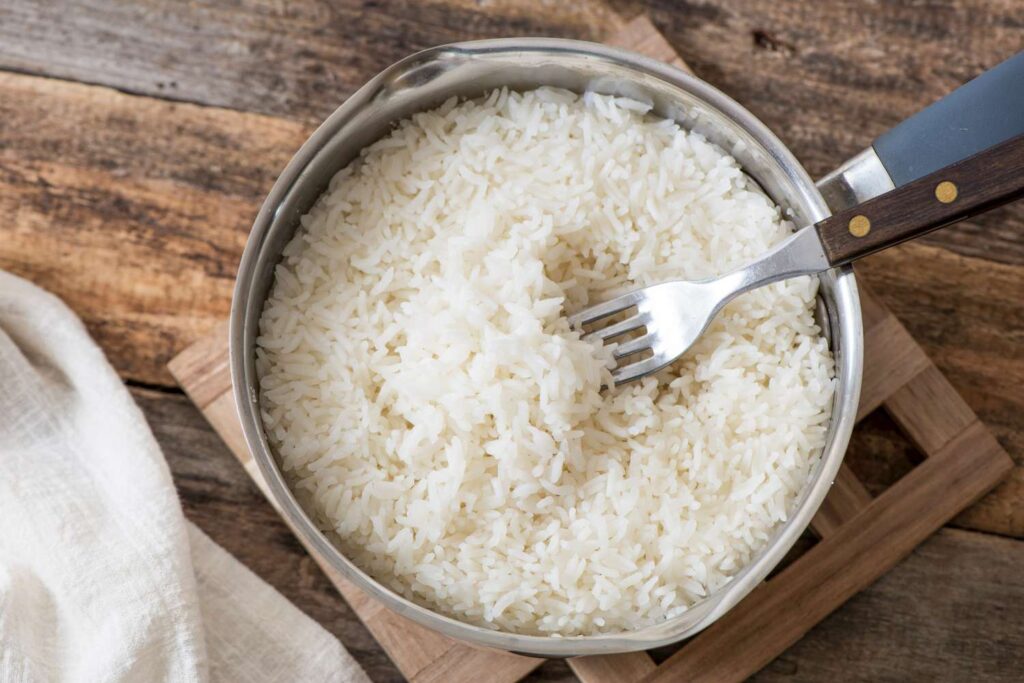
Step 4: Fluff and Serve
Once cooked, I let the rice rest for 5–10 minutes before fluffing with a fork. The grains separate easily and have a delicate, fluffy texture that feels completely different from rice cooked without soaking.
The Results
The difference was noticeable immediately:
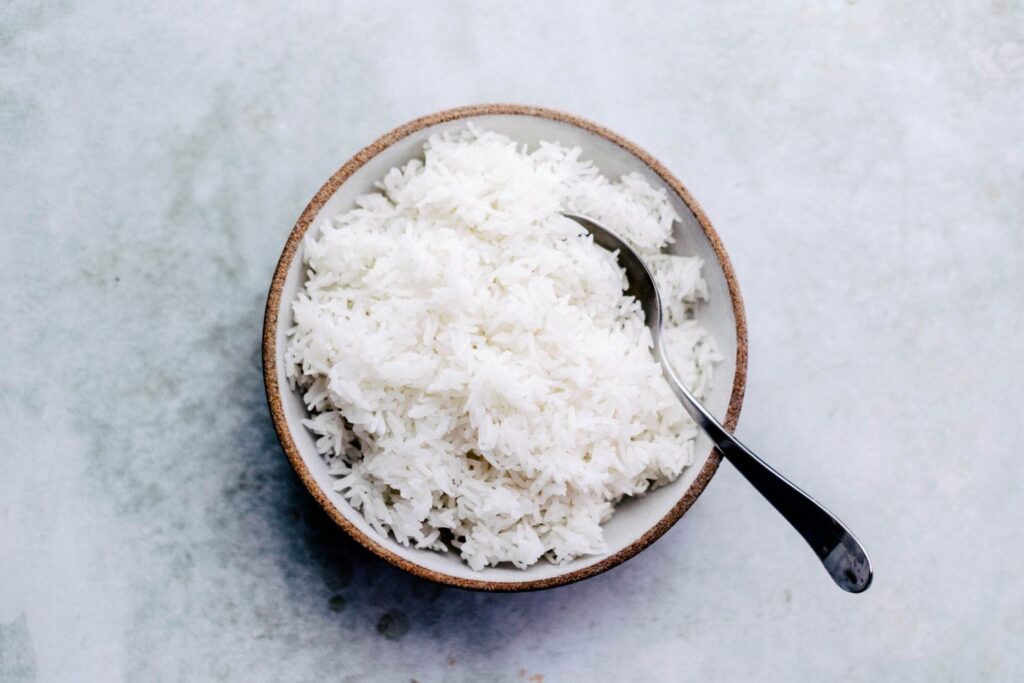
- Texture: The grains were softer, fluffier, and separate from each other, not clumped together.
- Flavor: The natural nutty and slightly sweet flavor of rice was enhanced. Even plain steamed rice tasted richer.
- Appearance: Long-grain rice looked elegant and plump, perfect for serving with curry, stir-fries, or biryani.
- Consistency: Every grain cooked evenly, with no hard centers or mushy edges.
It felt like I had discovered a secret chef’s trick that transformed a humble staple into a star ingredient.
Tips for Perfect Soaked Rice
To get the best results, I’ve learned a few key tips:
- Use Cold Water: Always soak rice in cold water, not hot. Hot water can start cooking the grains unevenly.
- Don’t Over-Soak: Too long in water can make rice mushy. Stick to recommended times for each variety.
- Adjust Cooking Water: Since the grains absorb water during soaking, slightly reduce the water when cooking. For example, for 1 cup of soaked rice, I use about 1 ½ cups of water instead of 2.
- Season During Cooking: Add a pinch of salt or a drizzle of oil/butter to enhance flavor. Soaking alone doesn’t season the rice.
- Fluff After Resting: Let the rice rest for a few minutes after cooking before fluffing to allow steam to evenly distribute.
Soaking Rice and Health Benefits
Beyond texture and taste, soaking rice can also offer subtle health benefits:
- Better Digestion: Soaking breaks down some of the starch and phytic acid, making rice easier to digest.
- Improved Nutrient Absorption: Reduced phytic acid improves the availability of essential minerals like calcium, magnesium, and iron.
- Reduced Arsenic Levels: Soaking rice can help reduce levels of inorganic arsenic, particularly in brown rice, which tends to retain more arsenic from soil and water.
For those who cook rice frequently, these small steps can make a big difference over time.
Creative Ways I Use Soaked Rice
Once I started soaking rice, I began experimenting with different dishes, and the results were even more exciting:
- Fluffy Fried Rice: Soaked rice fries better, with separate grains instead of a sticky mass.
- Perfect Sushi Rice: Short-grain rice becomes more tender and cohesive, ideal for rolling sushi.
- Rice Pudding: Soaking improves the creaminess and flavor of rice-based desserts.
- Biryani or Pilaf: Long-grain rice cooks evenly, absorbs spices beautifully, and stays separate, creating an elegant dish.
Soaking rice isn’t just for plain steamed rice — it elevates nearly every dish I make.
Why I’ll Never Skip Soaking Again
What started as a minor adjustment became a game-changer in my kitchen. Soaking rice improves every aspect of the final dish: texture, flavor, and even nutrition. I’ve learned that small steps can make a big difference, even for foods we think we know well.
I also enjoy the mindfulness of soaking rice. It’s a pause in the cooking process, a small moment to prep other ingredients or enjoy a cup of tea, knowing the rice is absorbing water and preparing itself to be perfect.
Final Thoughts
If you’ve never soaked rice before, I encourage you to try it. It’s simple, inexpensive, and completely transforms both the texture and flavor. Here’s a quick recap of my method:
- Rinse rice under cold water until clear.
- Soak for 15–60 minutes depending on the variety.
- Drain and adjust water for cooking.
- Cook and let rest before fluffing.
The difference is incredible — rice becomes lighter, fluffier, and more flavorful. Even plain rice tastes elevated, and dishes like stir-fries, curries, and sushi benefit immensely.
Soaking rice might feel like a small step, but it’s one that transforms a basic staple into a highlight of the meal. Once you try it, you’ll never go back to skipping this simple but powerful step.